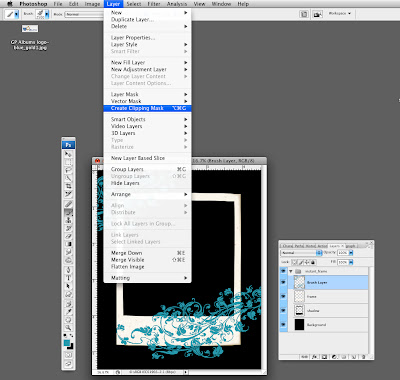
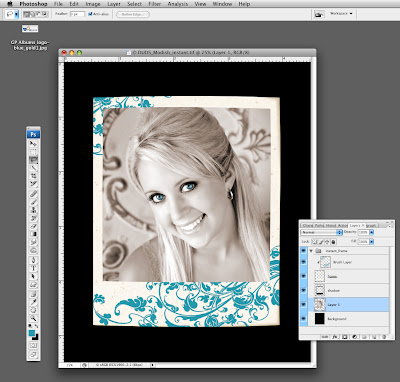
So, in this lesson I took a frame for the Modish collection and used a brush from the Bebe collection, in order to breathe a little new life into something I use all the time when designing. So here goes:
1. Open your photoDUDS frame
2. Create a new layer (make sure new layer is above the frame)
3. Grab desired brush, select desired color and stamp on your design
4. In the menu bar go to Layer>Create Clipping Mask
(this will clip the brush into only the frame)
5. Add your photo behind the frame
PS click on the images below to see larger versions


No comments:
Post a Comment